Sunday, January 19, 2014

Messy Cardboard Christmas Ornaments

I do know Christmas is over. But I'm sitting here watching football games with hubby. For some reason he likes watching them with me, says I ask lots of questions and make unusual observations. Apparently he forgets being around a toddler for 10 hrs straight and how fun all the questions are NOT! But to each his own. Anyway, sifting through my photos while watching and found these of Christmas ornaments I made for my Ladies Night Out group of ladies. They seemed to enjoy them.
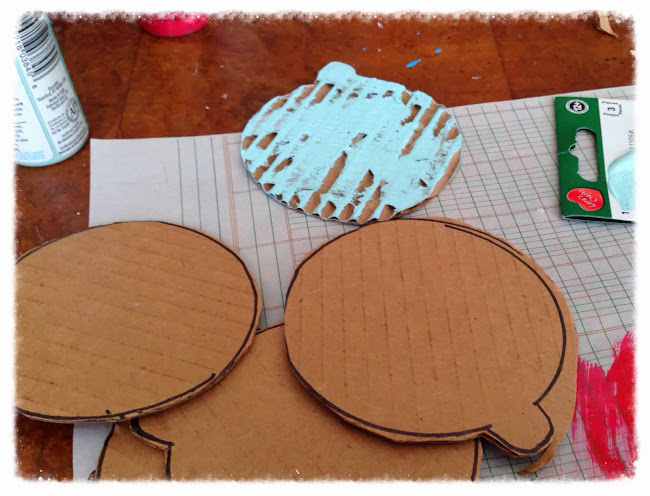
I started with regular cardboard. We have enough Amazon boxes laying around from Christmas present orders. I used a mason jar to make the circle and ripped off the top layer of cardboard. I'm sure you've used this technique, if not, you should. Each time it rips differently. Makes for messy but unique backgrounds.
I picked a few favorite colors to swipe on the ornaments. Easy peasy.


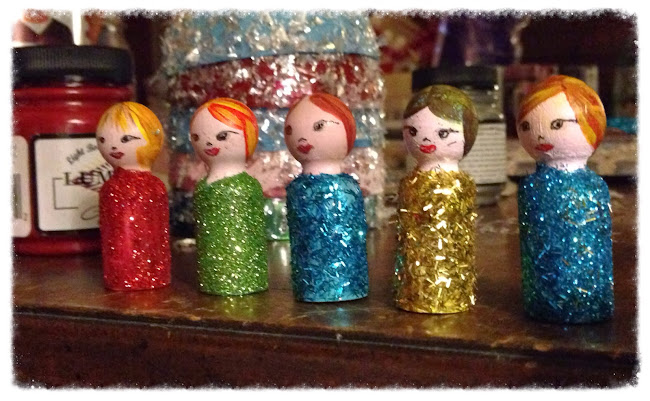
I had these little wooden people I painted and glittered for another project that didn't work out so I'm using them here. Added cute little glittered wings creating angels.
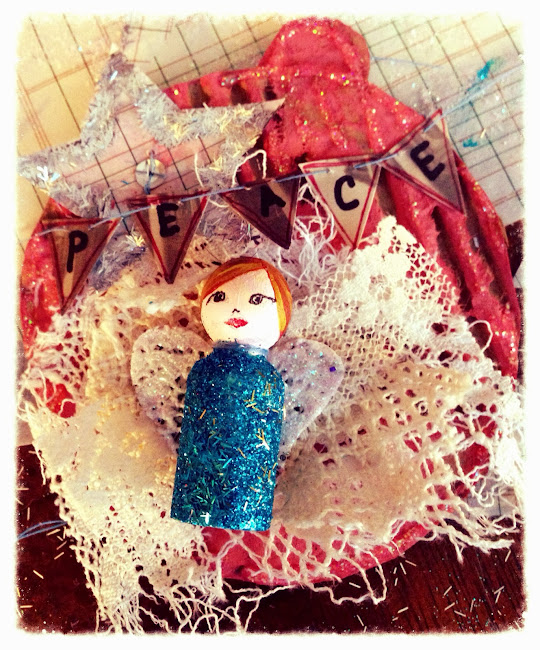
Here's where the ornaments went wacky. I didn't have a plan, as usual. So I started throwing scraps of fabric and lace at it. This seemed to be the arrangement we thought sucked the least (the teen was helping me decide. She gets irritated by indecision. Children just go with the flow don't they?!) The stars were an experiment. I have ledger paper made of vellum type material. I just drew a star shape with glue and glittered it. A sequin for the middle seemed to work. I sewed it on to the cardboard shape. I sewed the angel to the cardboard shape around her neck which also caught up all the lace and attached it.
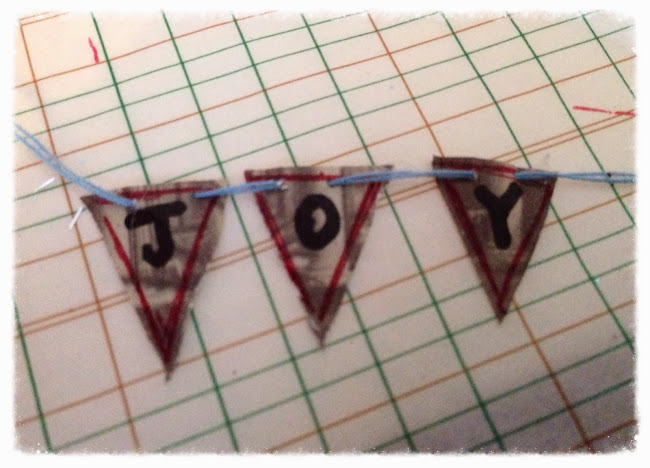
I was struggling with what to write on the ornaments and how, but hit upon the idea of making a mini banner. I think I saw something similar on Pinterest. Cute idea. Using scrapbook paper, pens and thread and needle.
I glittered all over the cardboard shape to give them a bit of glam.
Here's the finished ornaments. I added simple yarn ties. They came out a little crazy and messy but it's the style I was feeling that day.
To pack up the ornaments for gifties I swiped paint on white bags, stamped 3 angels, glued on gathered crepe leftover from another project and cut a tree shape out of mat board and covered it with wrapping paper.

Monday, January 13, 2014

Recycled Socks Little Doggie Leg Warmers

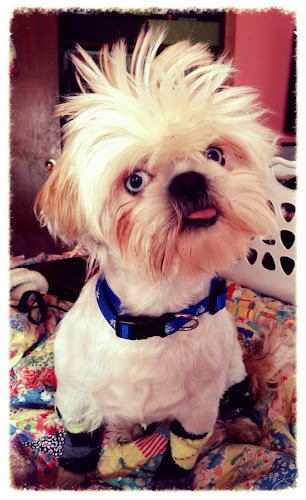
It could be said in some 'rare' instances that I might possibly spoil my dogs on occasion. :) But in this instance it can't possibly be true! My poor wittle doggie Winston was recently shaved down after he became a mat land. If he had better parents, he would have long flowing gorgeous hair, brushed and washed 3 times a day. His hair is stunning. But seeing as we're not dog show participants he's just a normal beloved Shih Tzu dog in our house. If he even looks at wet weather he mats up like a fluff ball.

The problem with shaving Winsta-Pooh is he then shivers constantly. No really, constantly, even in his sleep. In fact the first 3 days after being shaved he laid around with my daughters's electric blanket. He wears a sweater but it doesn't make enough difference. So today I worked on some leg warmers. Not so he can be a dandy of fashion but so he can be warm. I didn't make socks because it's so muddy out, he'll just ruin them first time out.

Here's some instructions on how I made them.

Needed: An old knee sock. Sewing machine or needle, quilting & elastic thread. Scissors.

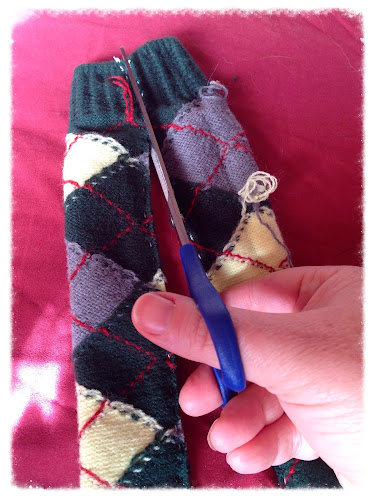
1. Cut the foot off the sock. note: I left the top cuff on, less sewing for later.

2. Cut the sock in half horizontally (not the length.) this is where I made my mistake. I did not cut in half first and it caused problems later on, so don't skip this step.

3. Thread your needle with quilting or sturdy thread and knot it. ** if you have a sewing machine, skip dealing with needle and thread.

4. Make sure to turn socks inside out BEFORE sewing.

5. Eyeball (or draw a line with pen or chalk) the middle of the sock and stitch a line with small stitches 1/8-1/4" to the right of the mark you made. Sew all the way to the top.

6. More over 1/4" towards the other side and sew another line from top to bottom.

7. You should now be able to cut in between the 2 stitched lines to make 2 leg warmers. ** do this to both halls of the sock so you should have 4 pieces now.

8. Turn down the edge of each end and stitch down with elastic thread. Here I made another mistake and tried using quilting thread at first. It does not allow enough 'give' to get it on the dog's feet. ** You will not need to stitch down the ends that have the cuff. They're already secure.

If you have a larger dog you may just need to stitch up the bottoms of a normal sock where you cut off the feet. No vertical sewn lines necessary. If they have skinnier legs, measure how thin the sock needs to be and sew a vertical seam.

Did someone say 'treat?!' (Winston is having a cockatoo hair day.)


Friday, January 10, 2014

Hello Kitty-esque Boot Cuffs


Wednesday I spent the day writing a crochet pattern. As I said on Facebook, I'm a sorta novice-fly-by-the-seat-of-my-pants crocheter and a slight perfectionist sometimes. These ways of being have been clashing, big time. But fun times none the less. I was thinking of throwing the pattern up on Etsy but who knows. I'll show it soon.

In the meantime, I've also been researching other crochet items I want to make. One was boot cuffs for my daughter Phee. She has a unique style and I was fairly certain she would enjoy them. So last night while watching inspiring TED videos, I made this pretty pair in a Watermelon color. I added a bow because that's SO my teen. If you'd like a pair of your own, I've listed them on Etsy, a custom handmade pair. https://www.etsy.com/listing/175294429/hello-kitty-esque-lacy-boot-cuffs


Wednesday, January 01, 2014

It's Brand Spankin' New!

It seems to me that no matter where you live or what holidays you do and don't celebrate, this is one that we all share. It's a new year, a clean untouched slate on which to make our mark. We don't have to make the same mistakes as last year, we can choose a new brighter path to take. What do you want to make of this brand spankin' not even touched New Year?!